>>
30-MINUTE MEALS! Get the email series now →


Bite-sized, no-bake delights with a creamy peanut butter and cream cheese center dipped in chocolate — perfect for parties, snacks, or a quick decadent treat.
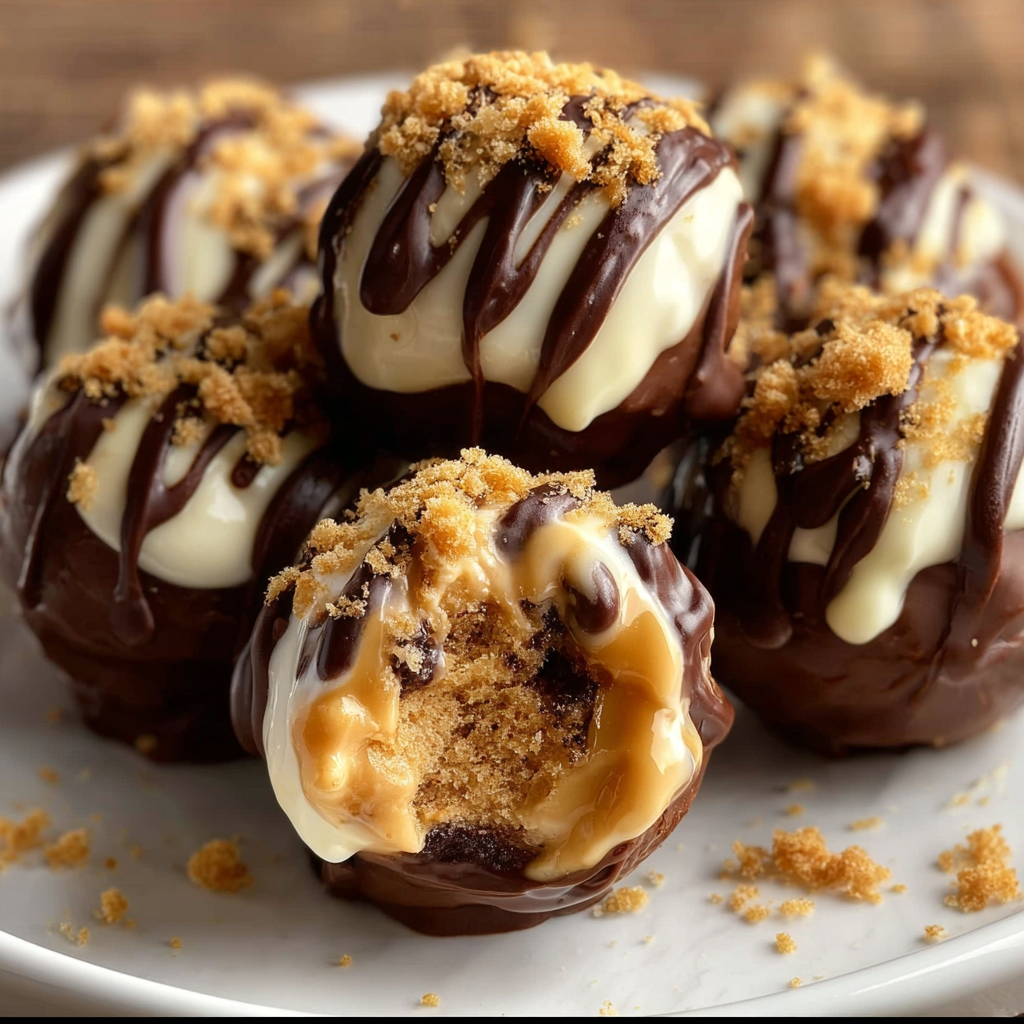
This recipe exists because sometimes you want something indulgent without heating up the kitchen. These No-Bake Peanut Butter Cheesecake Balls sprang from a weekend when I needed dessert fast for a backyard get-together and didn't want to bother with an oven. The combination of silky cream cheese, rich peanut butter, and buttery graham crumbs made a filling that tastes like a tiny, portable cheesecake — but without the fuss or bake time. I discovered the balance between sweet and tangy after a few trial batches, and now it’s become our go-to treat to bring to potlucks and weeknight cravings.
What makes these particularly special is the contrast in textures: creamy interior that gives way to a crisp chocolate shell, finished with a little crunch of crushed peanuts or colorful sprinkles. They’re quick to assemble, hold up well in the fridge, and travel beautifully. The flavor is familiar and universally loved, so even picky eaters usually end up sneaking more than one. I keep a stash in the freezer for emergency dessert situations — they thaw to the perfect creamy bite in under 10 minutes.
In my experience, the first time I brought these to a family gathering they vanished while I was pouring coffee. My niece declared them her new favorite and requested them for birthdays. The simple ingredient list hides depth: a touch of vanilla brightens the filling, while the graham crumbs add that classic cheesecake backbone that keeps each bite satisfying.
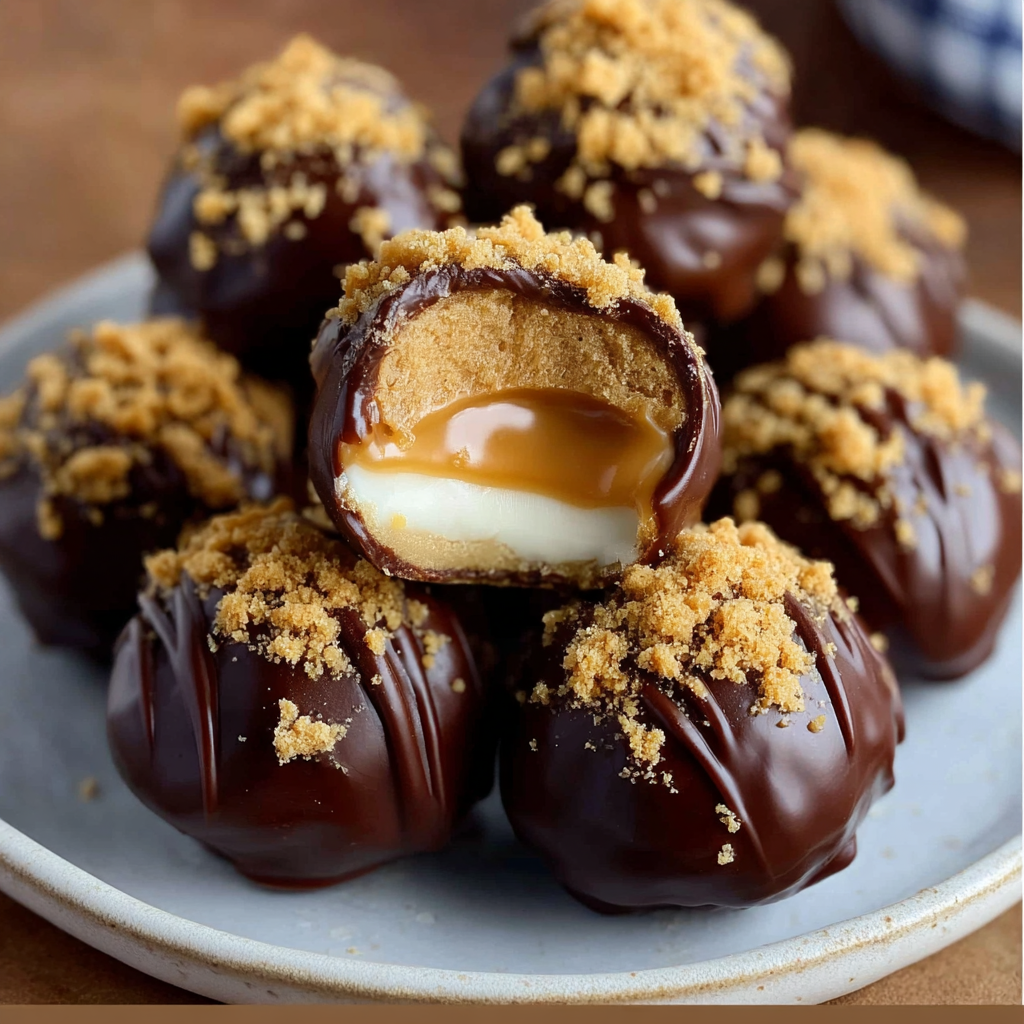
My favorite part is how adaptable the formula is. Once I nailed the balance of cream cheese to peanut butter, I started experimenting with flavor add-ins like mini chocolate chips or a pinch of flaky sea salt on top. Family members often debate whether the crunchy crushed peanuts or colorful sprinkles are the superior finishing touch — both bring character and visual appeal.
Store these bites in a single layer or separated with parchment paper in an airtight container in the refrigerator for up to 7 days. For longer storage, place them in the freezer in a rigid container with parchment layers; they’ll keep for up to 3 months. To serve from frozen, transfer to the refrigerator for 30–60 minutes to soften slightly, or leave at room temperature for 10 minutes — they'll remain firm enough to keep their shape but creamy in the center. Avoid leaving them at room temperature for extended periods, especially on warm days, as the filling softens and the coating can sweat.
Don’t have graham crackers? Use digestive biscuits or vanilla wafer crumbs at a 1:1 ratio; gluten-free graham-style crackers can make this gluten-free if the peanut butter and chocolate are also certified gluten-free. For a nut-free alternative, swap sunflower seed butter for peanut butter and top with toasted sunflower seeds instead of peanuts. To lighten the filling slightly, substitute half the cream cheese with mascarpone or whipped cream cheese, though note this will change the firmness and may require additional crumbs to bind.
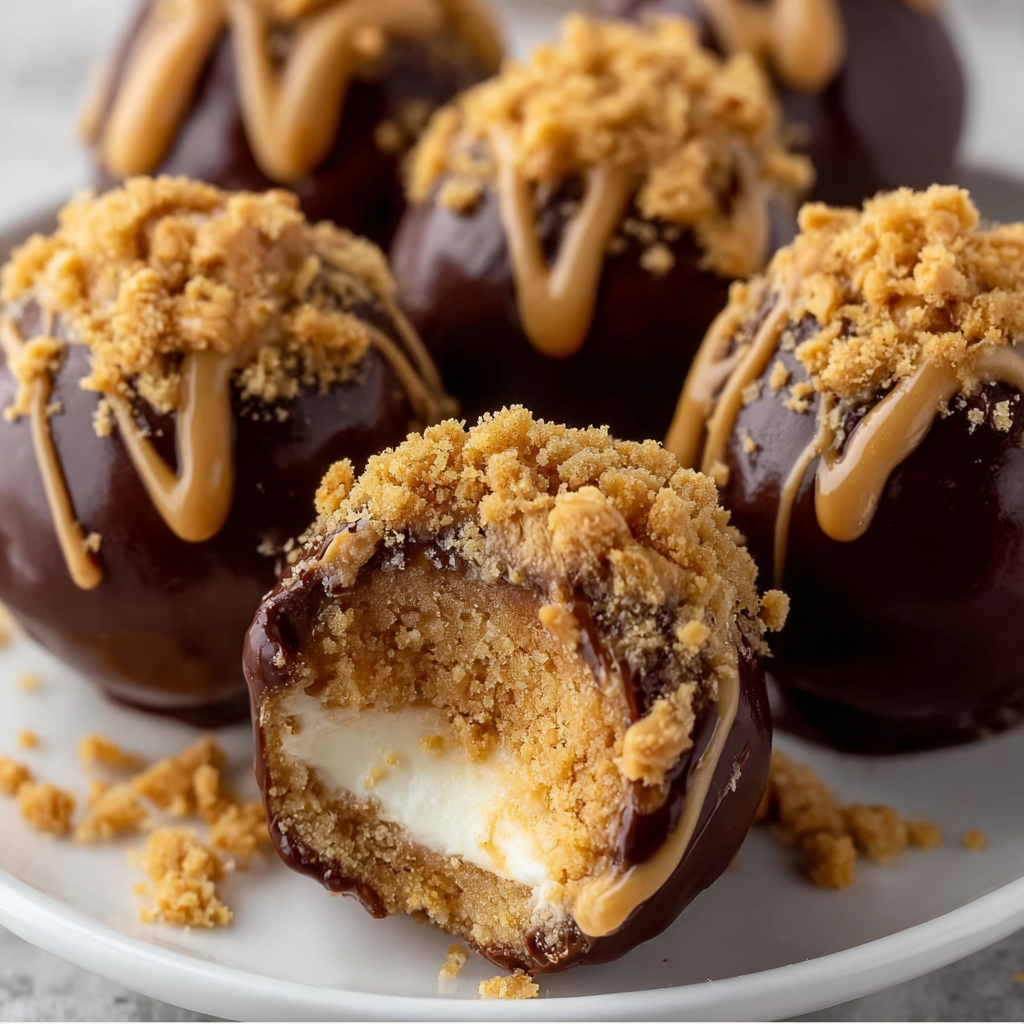
Arrange on a platter lined with doilies or place in mini paper cupcake liners for an elegant presentation. Pair with espresso or a cold glass of milk for a classic combo, or serve alongside fresh berries to balance richness. For parties, set up a small dipping station with melted white chocolate or caramel and toppings like crushed pretzels, shredded coconut, or sea salt. These also work beautifully as edible favors — pack a half dozen in a small box tied with ribbon.
These bites are an American-inspired take blending two beloved classics: peanut butter confections and cheesecake. No-bake versions of cream cheese desserts became popular for their convenience and accessibility, especially during summer months before widespread air conditioning. The use of graham crackers as a crust ingredient traces back to 19th-century American cuisine, and combining them into no-bake, bite-sized forms is a modern evolution designed for entertaining and portability.
Easily adapt these for holidays: add red and green sprinkles for Christmas, peanut butter cup pieces for Valentine’s Day, or a dash of pumpkin pie spice in the filling for autumn. For summer gatherings use a lighter chocolate coating and fresh fruit garnish; in winter, double-coat in dark chocolate and dust with edible gold powder for a festive look. Temperature affects finish: colder climates set chocolate faster, while humid conditions may cause a slight bloom — chilling briefly solves that.
Make the filling up to 3 days in advance and keep it covered in the refrigerator. Formed but uncoated balls can be chilled for up to 24 hours before dipping; this is handy if you want to prepare centers the night before an event. For quick batches, freeze shaped balls on a tray until solid, then transfer to a bag — dip from frozen, increasing set time slightly. Use a shallow bowl of warm water to quickly clean dipping forks between batches to keep the chocolate smooth.
These little bites strike a wonderful balance between simplicity and indulgence. They’re approachable enough for a beginner but have enough nuance to satisfy experienced cooks who enjoy tweaking textures and finishes. Share them with friends, keep them on hand for sweet cravings, and don’t be surprised if they become a requested favorite at your next gathering.
Soften cream cheese to room temperature for smooth incorporation and a silky filling.
Chill formed centers well before dipping to prevent melting and ensure a neat coating.
Add 1–2 tablespoons coconut oil to melted chocolate for a shinier, easier-to-dip coating.
Use a 1-inch cookie scoop for uniform balls so they set evenly and look professional.
This nourishing no-bake peanut butter cheesecake balls recipe is sure to be a staple in your kitchen. Enjoy every moist, high protein slice — it is perfect for breakfast or as a wholesome snack any time.
This No-Bake Peanut Butter Cheesecake Balls recipe makes perfectly juicy, tender, and flavorful steak every time! Serve with potatoes and a side salad for an unforgettable dinner in under 30 minutes.
Beat softened cream cheese and creamy peanut butter until smooth, then add powdered sugar and vanilla. Mix until fully incorporated and creamy.
Gradually add graham cracker crumbs and fold until the mixture holds its shape. Adjust crumbs by tablespoons if too wet or too dry.
Use a 1-inch scoop or your hands to shape the mixture into uniform balls and place on parchment-lined sheet for chilling.
Refrigerate assembled balls for at least 30 minutes (or up to an hour) so they firm up and are easier to dip without melting.
Melt semi-sweet chocolate with optional coconut oil in 30-second microwave bursts, stirring between intervals until smooth and glossy.
Dip chilled balls into melted chocolate using a fork or dipping tool, tap off excess, and return to parchment. Reheat chocolate briefly if it thickens.
While coating is wet, sprinkle crushed peanuts or sprinkles. Chill for 15–20 minutes until coating is fully set before storing.
Last Step: Please leave a rating and comment letting us know how you liked this recipe! This helps our business to thrive and continue providing free, high-quality recipes for you.
Leave a comment & rating below or tag
@kitchenfunwithmy3sons on social media!
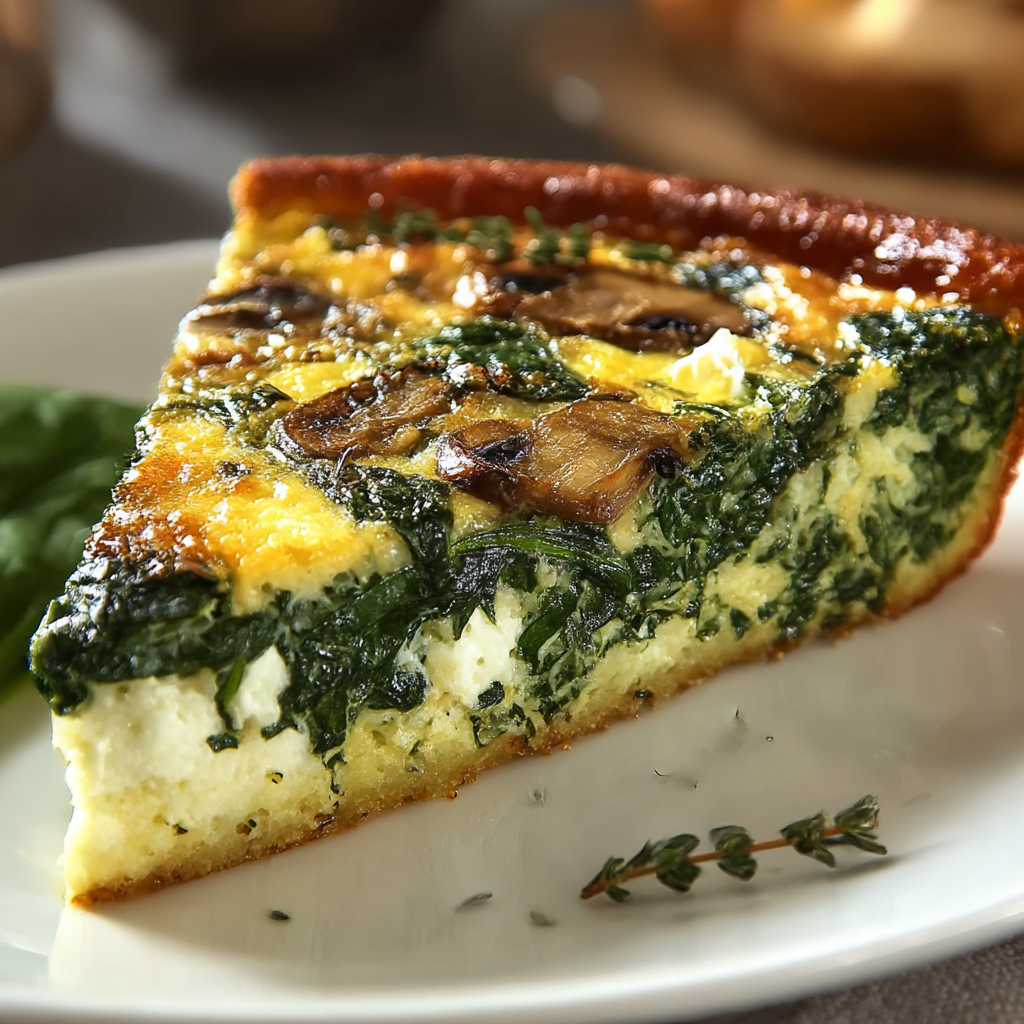
Fluffy crustless spinach quiche with cheddar and feta—an easy, gluten-free vegetarian brunch that comes together in under an hour.

Crunchy corn dogs filled with chopped shrimp, shredded crab, cheddar and a nacho-chip crust—an irresistible party snack that's crispy, savory and perfect for sharing.
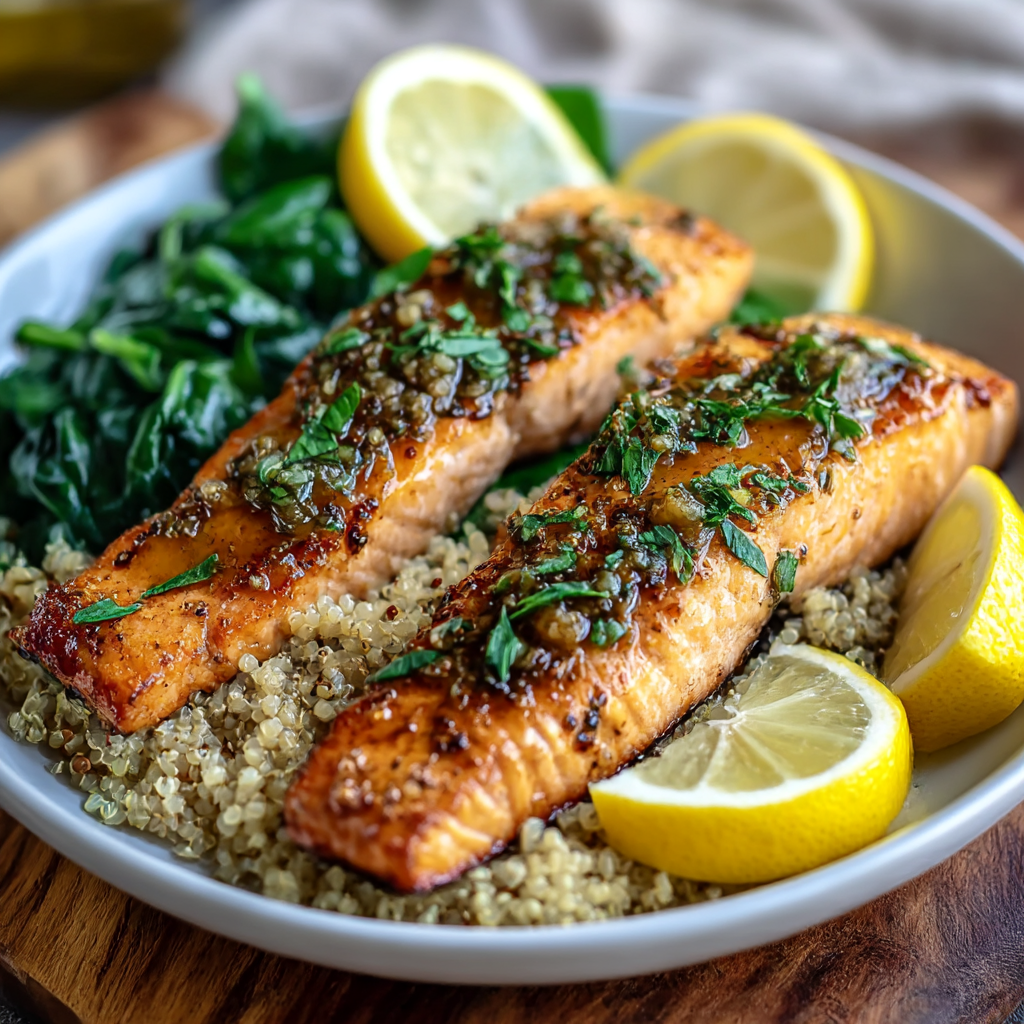
Tangy grilled salmon served on a bed of quinoa and baby spinach with a lively lemon herb accent. A quick Mediterranean main that is gluten-free and dairy-free.
Leave a comment & rating below or tag @kitchenfunwithmysons on social media!
Enjoyed this recipe? Share it with friends and family, and don't forget to leave a review!
This recipe looks amazing! Can't wait to try it.
Comments are stored locally in your browser. Server comments are displayed alongside your local comments.
Quick and easy dinner ideas delivered to your inbox.